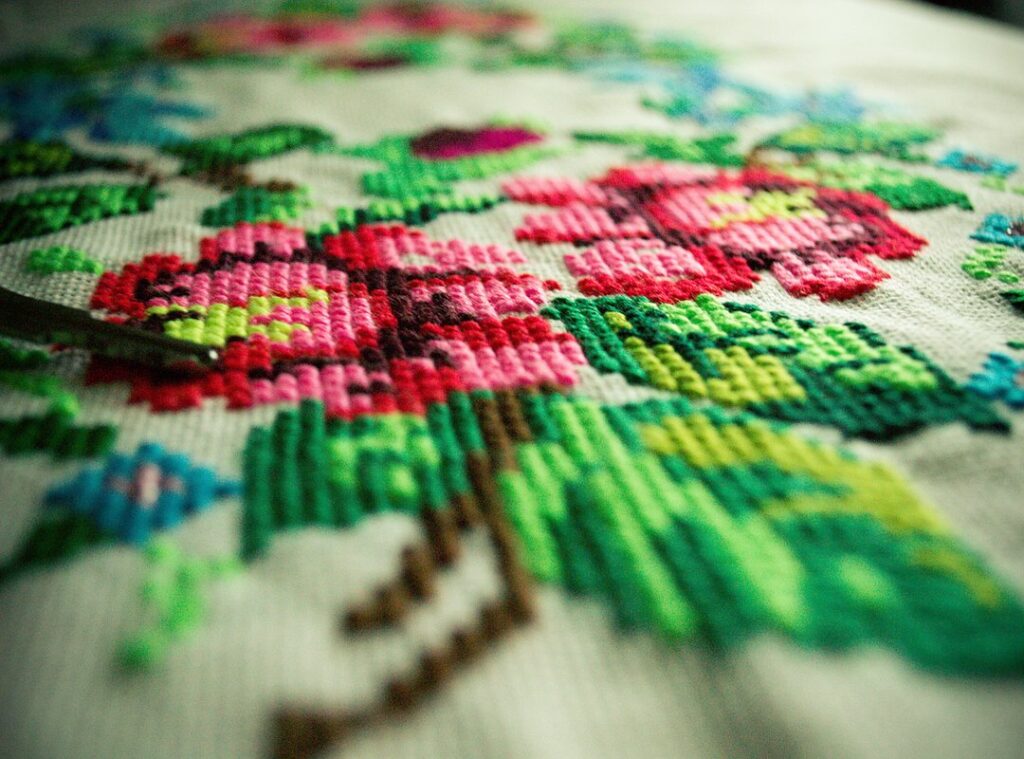
Stitch, that little blue alien from Disney’s ‘Lilo & Stitch,’ is a character you can’t help but love. He’s charming, mischievous, and just plain adorable.
This article promises to give you a simple, step-by-step guide to create your own stitch rajzok. Whether you’re a total beginner or someone with a bit of drawing experience, this tutorial is for you.
You don’t need to be a professional artist. This is all about having fun and learning something new.
We’ll break down the process into easy, manageable steps. You’ll start with basic shapes and work your way up to capturing Stitch’s unique facial expressions and details.
So, grab your pencils and let’s get started!
Gathering Your Essential Drawing Supplies
Let’s start with the basics. You’ll need a simple graphite pencil, like a #2 or HB, a good quality eraser, and plain paper.
Starting with a pencil is crucial for beginners. It allows for easy corrections and sketching light guidelines. This way, you can build your drawing step by step without the pressure of getting it perfect on the first try.
If you want to add color later, consider optional supplies like colored pencils, markers, or crayons. But remember, these are just extras. The focus should be on technique, not the gear.
Expensive tools are not necessary to start. Many professional artists will tell you that a great drawing comes from skill, not the price tag of your materials. (Think about it; even a simple pencil can create amazing stitch rajzok.)
Pro tip: Keep a separate piece of paper handy for testing colors or doodling practice shapes before drawing on the main sheet. This helps you get a feel for how different colors and techniques work together.
Breaking Down Stitch: Starting with Simple Shapes
When it comes to drawing complex characters, the key is to break them down into simple geometric shapes. It’s a technique that makes the process more manageable and less intimidating.
First, start with a large, slightly flattened circle for Stitch’s head. This will give you the basic shape to work with.
Next, draw a smaller, pear-shaped oval below the head for his body. Make sure it connects smoothly to the head. This step is crucial for getting the right proportions.
Now, let’s move on to the ears. Sketch the large, floppy ears using long, curved triangle or leaf shapes attached to the sides of the head. These shapes should flow naturally from the head, giving Stitch his iconic look.
To map out the face, draw a vertical and horizontal guideline across the head-circle. This will help you place the eyes and nose correctly. Symmetry is important here, so take your time.
Remember, these initial lines should be drawn very lightly. They are just guides and will be erased or drawn over later. This way, you can make adjustments without messing up your final drawing.
By following these steps, you’ll find that drawing Stitch becomes much more straightforward. And if you practice regularly, you’ll get even better.
One last tip: Look at stitch rajzok for inspiration. Seeing how others have tackled the same challenge can give you new ideas and insights.
Step-by-Step: Capturing Stitch’s Expressive Face
Let’s dive into the most important part: the eyes. Eyes are key to making Stitch look like he’s about to get into some mischief.
Draw two large, almond-shaped ovals on the horizontal guideline, leaving a small gap between them. This gives him that wide-eyed, curious look. stitch rajzok
Add the large pupils and a small white highlight in each eye. This makes his eyes look alive and full of curiosity.
Now, for his nose. Draw a large, wide, dark oval right where the guidelines intersect, slightly below the eyes. It’s simple but adds a lot of character.
Next, focus on his mouth. Start with a broad, curved line under the nose. This wide, mischievous mouth is what gives Stitch his playful vibe.
Add a few sharp, triangular teeth peeking out. These little details make his playful and mischievous character really pop.
Don’t forget the small details around his eyes. Add darker blue patches to give his face more dimension. This step is crucial for making your stitch rajzok stand out.
With these steps, you’ll capture the essence of Stitch’s expressive face. It’s all about those little details that bring him to life.
Adding the Body, Paws, and Final Details
Now that we’ve got the face down, let’s move on to the body. Start by refining the pear-shaped oval into his torso. It should be smooth and slightly curved.
Next, draw his short, stubby legs. Make sure they’re rounded and add three distinct claws on each foot. This part can take a bit of time to get right, so don’t rush it.
Let’s talk about his arms. He has four, which might seem a bit unusual. Draw the main two arms first, then add the smaller, secondary arms emerging from his sides.
It’s a quirky detail that makes him stand out.
Don’t forget the small notches in his ears and the tuft of fur on top of his head. These little details add a lot of character.
Add a light blue patch on his chest and stomach area. This is a key feature that really brings him to life. (It’s like giving him a little personality boost.)
Finally, go over your final lines with more pressure or a darker pencil. Carefully erase any leftover guidelines. This step is crucial for a clean, finished look.
And there you have it! Your stitch rajzok is complete. Take a moment to admire your work.
You’ve just created something unique and fun.
Bringing Your Experiment 626 Drawing to Life
Congratulations on completing your Stitch drawing! You’ve successfully followed the steps to create a wonderful piece of art. The key to your success was starting with simple shapes and building up details layer by layer.
Don’t stop here! Try experimenting with different poses, expressions—like an angry or sad Stitch—or even add a background such as a Hawaiian beach.
Now it’s time to add color! Use shades of blue, purple, and pink to make your stitch rajzok really pop.
Remember, the joy of practice and creating art is in the journey. Keep drawing and exploring new ideas!
 Ask Sharone Phillipssond how they got into emerging technology overview and you'll probably get a longer answer than you expected. The short version: Sharone started doing it, got genuinely hooked, and at some point realized they had accumulated enough hard-won knowledge that it would be a waste not to share it. So they started writing.
What makes Sharone worth reading is that they skips the obvious stuff. Nobody needs another surface-level take on Emerging Technology Overview, Gadget Reviews, Software Development Insights. What readers actually want is the nuance — the part that only becomes clear after you've made a few mistakes and figured out why. That's the territory Sharone operates in. The writing is direct, occasionally blunt, and always built around what's actually true rather than what sounds good in an article. They has little patience for filler, which means they's pieces tend to be denser with real information than the average post on the same subject.
Sharone doesn't write to impress anyone. They writes because they has things to say that they genuinely thinks people should hear. That motivation — basic as it sounds — produces something noticeably different from content written for clicks or word count. Readers pick up on it. The comments on Sharone's work tend to reflect that.
Ask Sharone Phillipssond how they got into emerging technology overview and you'll probably get a longer answer than you expected. The short version: Sharone started doing it, got genuinely hooked, and at some point realized they had accumulated enough hard-won knowledge that it would be a waste not to share it. So they started writing.
What makes Sharone worth reading is that they skips the obvious stuff. Nobody needs another surface-level take on Emerging Technology Overview, Gadget Reviews, Software Development Insights. What readers actually want is the nuance — the part that only becomes clear after you've made a few mistakes and figured out why. That's the territory Sharone operates in. The writing is direct, occasionally blunt, and always built around what's actually true rather than what sounds good in an article. They has little patience for filler, which means they's pieces tend to be denser with real information than the average post on the same subject.
Sharone doesn't write to impress anyone. They writes because they has things to say that they genuinely thinks people should hear. That motivation — basic as it sounds — produces something noticeably different from content written for clicks or word count. Readers pick up on it. The comments on Sharone's work tend to reflect that.